MiroFish how to use: make your first run small and reviewable.
MiroFish how to use is a practical first-run guide. It shows the sequence that makes a scenario report useful: a narrow decision, focused source material, clear perspectives, a saved baseline, and one controlled rerun.
MiroFish simulation world setup used here to explain MiroFish how to use.
1Focused reader question
3MiroFish product images from the notepad set
2:30Animated workflow walkthrough with input, graph, agents, simulation, and report
Direct answer
A new user often asks MiroFish how to use because they do not know what to prepare or how to judge the report. MiroFish how to use starts with a single decision that has a time horizon and affected groups. Add only the context that a reviewer can trace back to source material.
The MiroFish how to use method is deliberately modest: inspect the graph and perspective setup, save the first report, mark assumptions and evidence gaps, then change one condition for the next run. This gives you a comparison instead of a single persuasive-looking output.
First-run card
Keep this sequence visible while you work.
1Decision
2Seed packet
3Context review
4Baseline report
5One change
When a run feels confusing, return to the last clear step rather than adding more information.
Turn your question into a reviewable scenario
Use these steps to move from an initial question to a scenario, report, or practical next action.
Seed -> graph -> agents -> report
Write one decision
State the change, time horizon, and audience reaction you need to examine.
Clean the packet
Keep current evidence, label assumptions, and remove unrelated notes.
Review the setup
Inspect graph context and simulated perspectives before accepting the run.
Compare one change
Save the baseline and modify a single assumption in the follow-up run.
Build a quick scenario worksheet
Draft the first MiroFish run on this page before opening a workspace.
Interactive worksheet
Prepare a useful first run
A good first run begins before the upload screen. Write the decision in ordinary language, then circle the nouns that will need evidence: the audience, the change, the deadline, and the constraint. If you cannot state those pieces on one page, the scenario is still a research problem rather than a simulation problem. Tighten the brief first.
Treat the first output like a lab notebook. Preserve the initial question, record which sources were included, and label the report date. Then separate statements into three buckets: source-backed context, simulated reaction, and unanswered question. This small discipline is what makes a later comparison meaningful to a teammate who did not create the run.
For the second run, resist the urge to improve every part at once. Change a single message, timing assumption, audience definition, or constraint. A controlled rerun is more informative than a more elaborate prompt because it tells you which change altered the narrative. That is the core habit new MiroFish users should learn.
Review checklist
Before acting on a MiroFish output, check whether the scenario stayed inside the question you asked. The most useful output for this page is: A first-run record with source context, a scenario report, an evidence checklist, and one clear rerun variable. The key limit is equally important: MiroFish can organize uncertainty; it cannot make poor inputs reliable or replace research, expert review, or direct measurement.
Write one decision. State the change, time horizon, and audience reaction you need to examine.
Clean the packet. Keep current evidence, label assumptions, and remove unrelated notes.
Review the setup. Inspect graph context and simulated perspectives before accepting the run.
Compare one change. Save the baseline and modify a single assumption in the follow-up run.
What to compare in the output
Use these checkpoints to turn the first MiroFish result into a grounded next action.
Review before action
Decision: One specific question. Keeps the run understandable. Add a time horizon.
Seed packet: Current sources and assumptions. Grounds the setup. Remove stale notes.
Baseline report: The first saved output. Creates a comparison point. Mark evidence gaps.
Rerun: One changed assumption. Shows meaningful difference. Verify outside sources.
Watch the full MiroFish workflow
This 2 minute 30 second animated walkthrough moves from source material through graph construction, agent activity, simulation events, report review, and follow-up questions.
2:30 animated walkthrough
Follow the full animated workflow, then use the page-specific checklist to prepare your own MiroFish run.
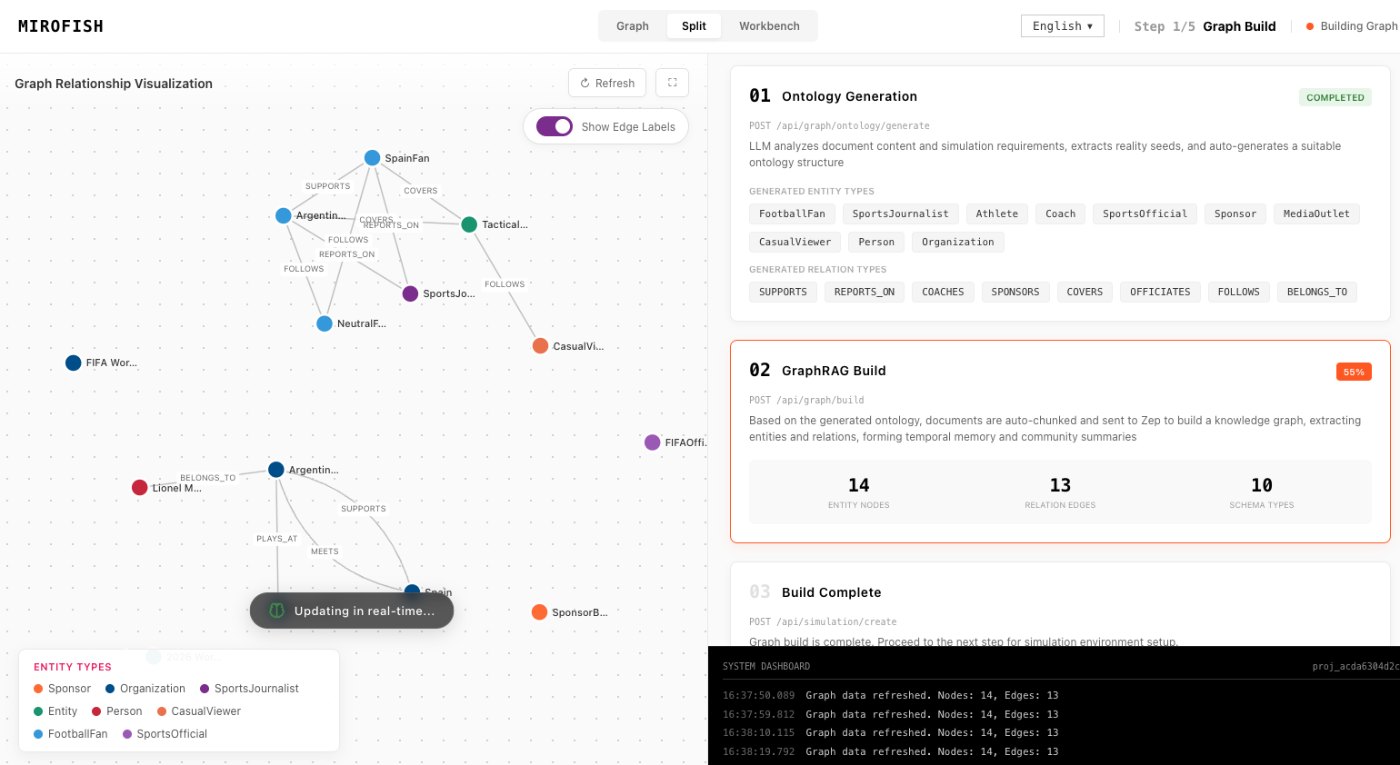
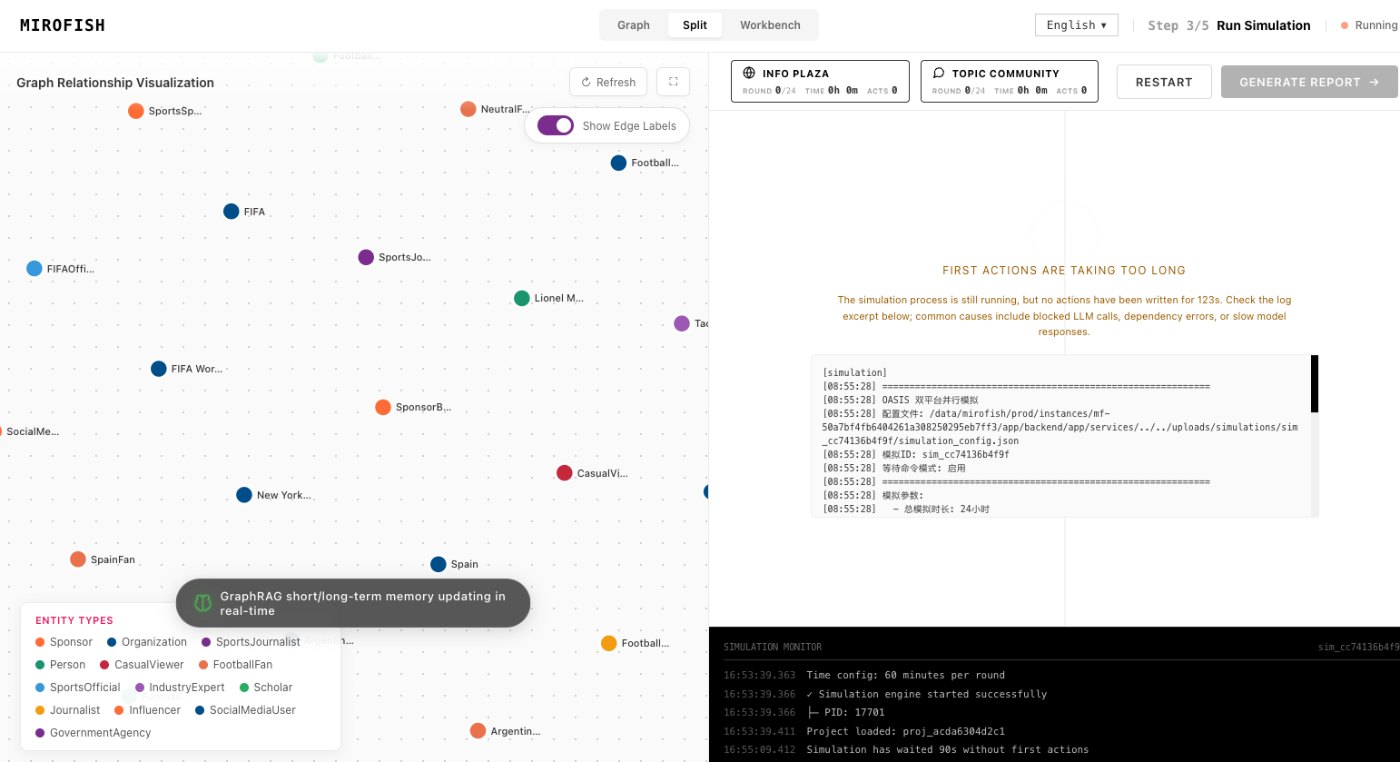
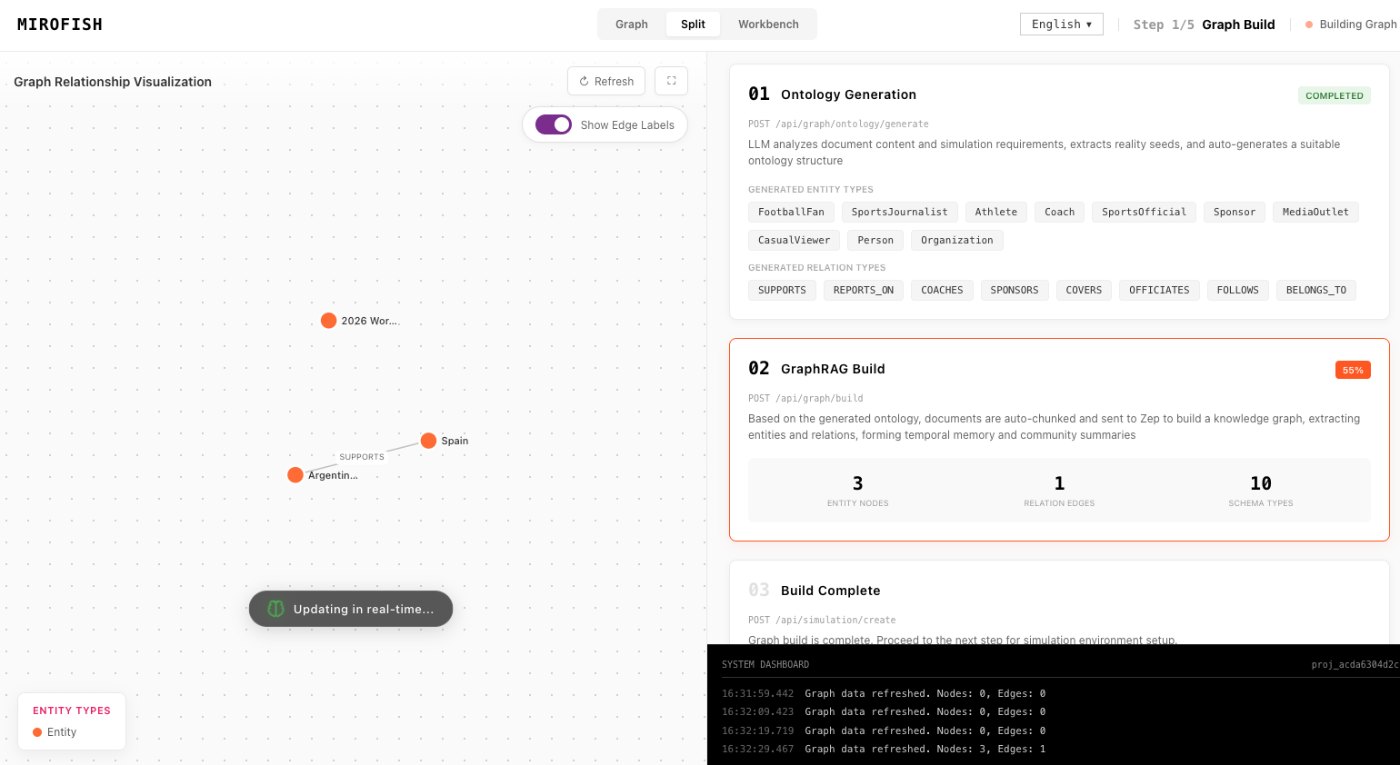
Product screenshots from the workflow
These images come from the notepad MiroFish image set and are used as concrete workflow references rather than decoration.
2 more images
MiroFish follow-up analysis workspace used as a concrete workflow reference.MiroFish graph construction workspace used as a concrete workflow reference.
A realistic use case
A founder can compare two launch headlines by holding the audience, timing, and source packet steady. The report then shows whether the changed message affects objections, support, or uncertainty.
The value of the page is practical: define the job, prepare the right input, read the output with its limits visible, and choose a next step that can be checked outside the page.
How to read the report
Read a MiroFish report as a map of assumptions and reactions. Mark source-backed claims, uncertain claims, and follow-up questions separately. Then choose one change for the next run instead of accepting the first report as final.