MiroFish AI website: start with a question, seed material, and a report goal.
The MiroFish AI website is built around a practical workflow: upload source material, build a graph, create agent personas, run a simulation, generate a report, and continue with follow-up analysis.
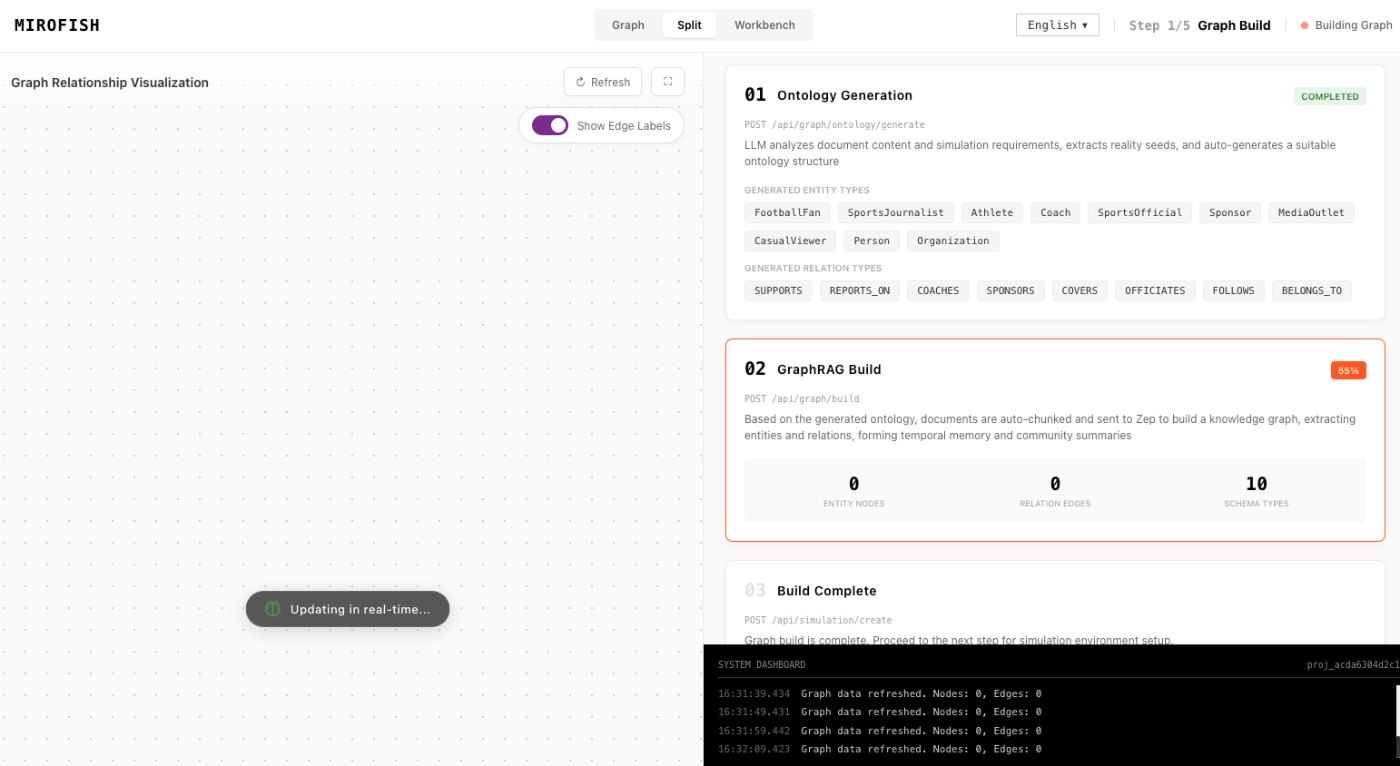
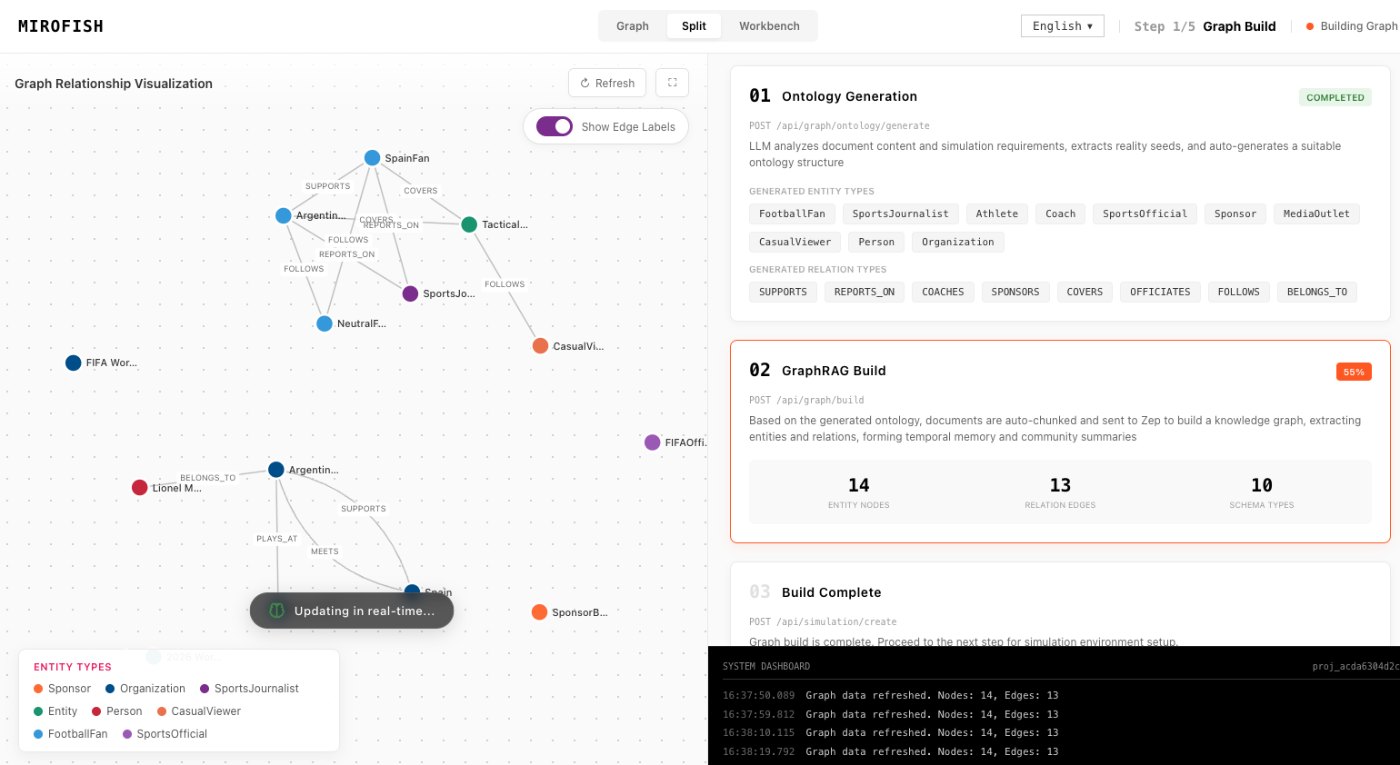
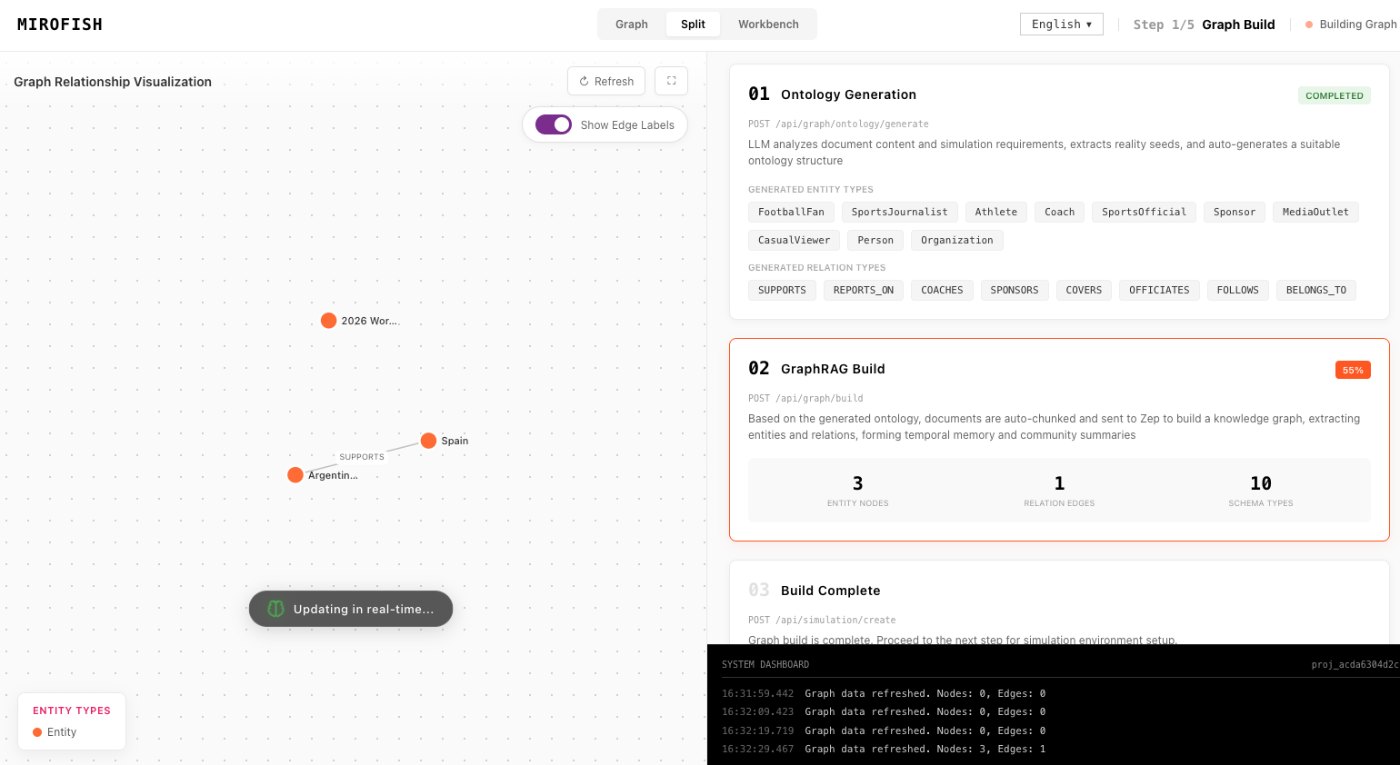
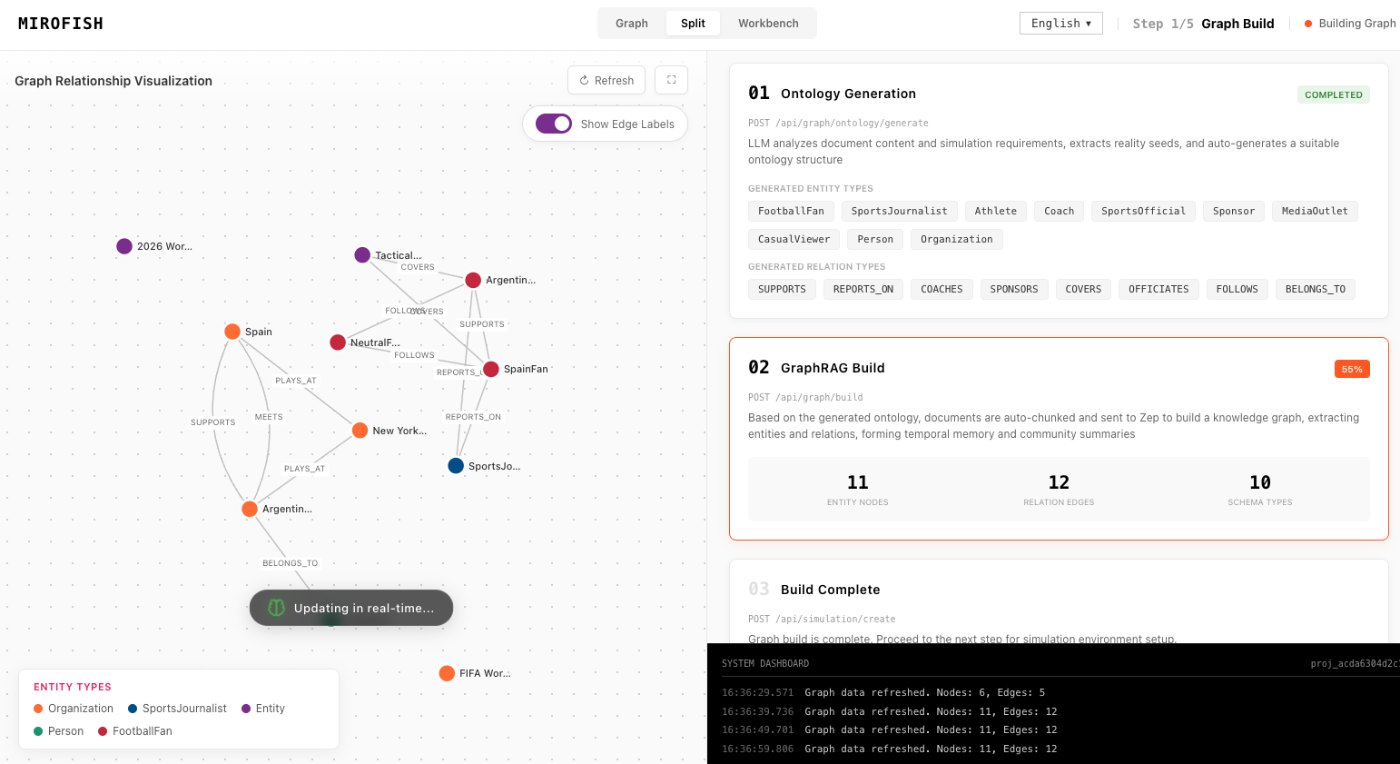
MiroFish source-to-graph workspace used here to explain mirofish ai website.
1Focused reader question
5MiroFish product images from the notepad set
2:30Animated workflow walkthrough with input, graph, agents, simulation, and report
Direct answer
If you searched MiroFish AI website, you likely want the official product path, not a generic article. The homepage introduces the product, the pricing section starts hosted workspaces, and the guides explain the scenario workflow.
The fastest way to understand the site is to start with one decision you want to rehearse. MiroFish works best when the input is specific enough for agents and reports to stay grounded.
Find your starting point
Choose the MiroFish route that matches your readiness.
Start with orientation when the question is still forming; move to a workspace when the source packet is ready; use the report path when you already have a run to review.
ExploreSee examples and learn the workflow.
PrepareBuild a focused seed packet and question.
RunOpen a workspace and inspect the setup.
ReviewTurn the report into a verification list.
Turn your question into a reviewable scenario
Use these steps to move from an initial question to a scenario, report, or practical next action.
Seed -> graph -> agents -> report
Open the homepage
Use the product navigation to reach workflow, examples, guides, and pricing.
Prepare one seed packet
A focused brief is easier to simulate than a mixed folder of unrelated notes.
Run a small scenario first
Use a short pilot before expanding to a larger run.
Keep the report loop open
Use follow-up analysis to test changed assumptions.
Build a quick scenario worksheet
Draft the first MiroFish run on this page before opening a workspace.
Interactive worksheet
Prepare a useful first run
Use this page as a navigation aid. A visitor who wants the website usually needs to know where to start, which page explains the workflow, where pricing lives, and how to return to the console after a workspace exists. That intent is different from a broad product definition because the reader is already looking for the operating path.
The best first click depends on readiness. If the team still has a vague question, read the tutorial and resources before opening a workspace. If the team already has a compact source packet, use the pricing path and then start from the console. If someone only needs to understand screenshots or examples, stay in the guide pages until the workflow feels predictable.
A useful website route keeps the user on the product domain for pricing, checkout, account, resources, and support. The external GitHub link is secondary background for open-source context, not the main action. That distinction keeps the commercial path clear while still letting technical visitors verify the source relationship later.
Review checklist
Before acting on a MiroFish output, check whether the scenario stayed inside the question you asked. The most useful output for this page is: A MiroFish workspace path: source upload, graph inspection, agent setup, simulation run, report review, and a next-step analysis loop. The key limit is equally important: The website supports scenario rehearsal. It should not be treated as guaranteed prediction, professional advice, or a replacement for direct measurement.
Open the homepage. Use the product navigation to reach workflow, examples, guides, and pricing.
Prepare one seed packet. A focused brief is easier to simulate than a mixed folder of unrelated notes.
Run a small scenario first. Use a short pilot before expanding to a larger run.
Keep the report loop open. Use follow-up analysis to test changed assumptions.
What to compare in the output
Use these checkpoints to turn the first MiroFish result into a grounded next action.
Review before action
Homepage: Product explanation and examples. Understand the workflow. Use when new to MiroFish.
Pricing: Workspace plan path. Start hosted use. Use when ready to run.
Resources: Guides and definitions. Learn terms and workflow steps. Use when comparing concepts.
Dashboard: Workspace console. Return to active work. Use after account setup.
Watch the full MiroFish workflow
This 2 minute 30 second animated walkthrough moves from source material through graph construction, agent activity, simulation events, report review, and follow-up questions.
2:30 animated walkthrough
Follow the full animated workflow, then use the page-specific checklist to prepare your own MiroFish run.
Product screenshots from the workflow
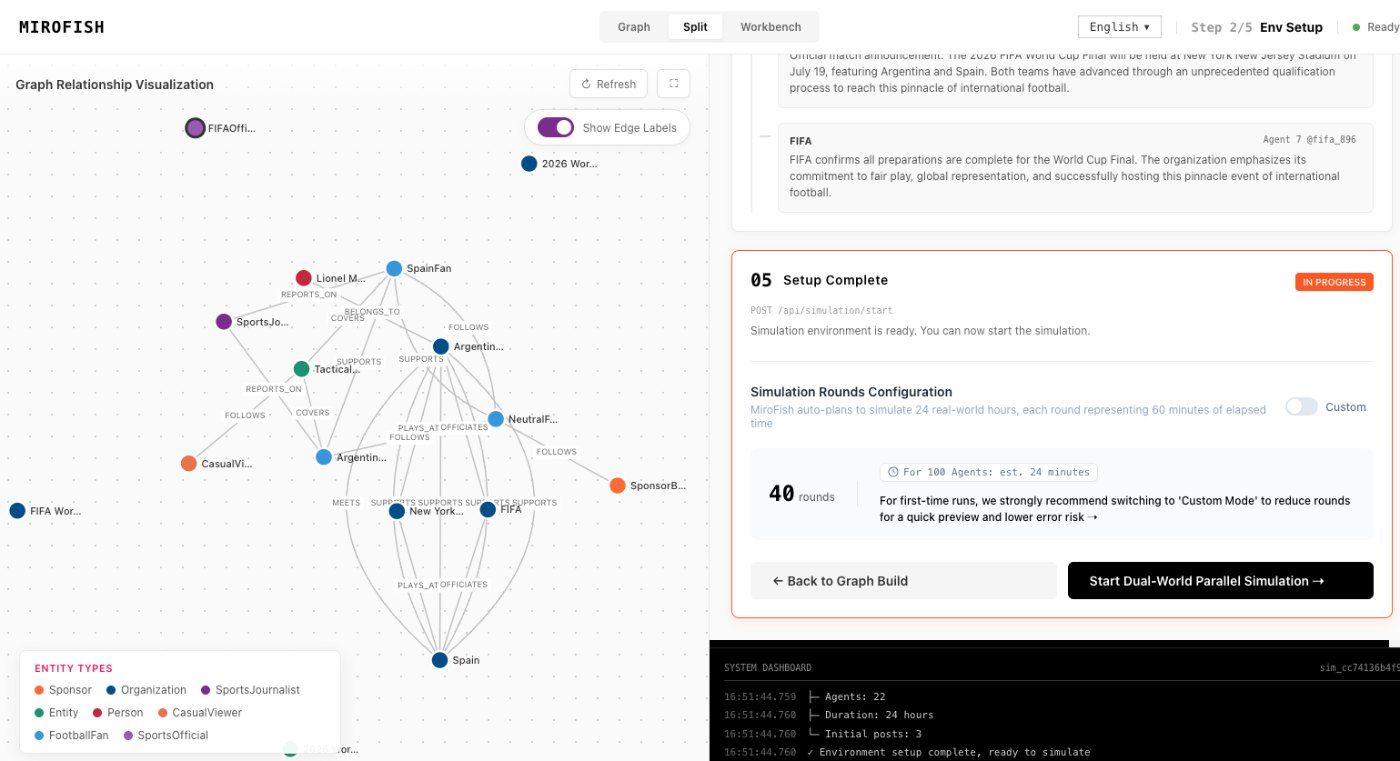
These images come from the notepad MiroFish image set and are used as concrete workflow references rather than decoration.
4 more images
MiroFish simulation world setup used as a concrete workflow reference.MiroFish graph construction workspace used as a concrete workflow reference.MiroFish agent configuration workspace used as a concrete workflow reference.MiroFish report generation workspace used as a concrete workflow reference.
A realistic use case
A team preparing a launch can use the website to upload a positioning brief, simulate buyer and competitor reactions, read the report, and then rerun the scenario after changing the price or launch message.
The value of the page is practical: define the job, prepare the right input, read the output with its limits visible, and choose a next step that can be checked outside the page.
How to read the report
Read a MiroFish report as a map of assumptions and reactions. Mark source-backed claims, uncertain claims, and follow-up questions separately. Then choose one change for the next run instead of accepting the first report as final.