Follow-up analysis turns a MiroFish report into a better second question.
The first simulation report is not the finish line. Follow-up analysis is where MiroFish becomes useful for learning: change one assumption, rerun, compare, and decide what to verify next.
MiroFish persona setup workspace used here to explain follow-up analysis.
1Focused reader question
4MiroFish product images from the notepad set
2:30Animated workflow walkthrough with input, graph, agents, simulation, and report
Direct answer
Follow-up analysis helps prevent a common mistake: treating a fluent report as final. A better habit is to ask which assumption drove the result, what evidence is missing, and what would happen if one condition changed.
In MiroFish, follow-up analysis can reuse seed material, memory, graph context, and ReportAgent findings. The goal is to compare reports rather than rewrite the first result from memory.
Turn your question into a reviewable scenario
Use these steps to move from an initial question to a scenario, report, or practical next action.
Seed -> graph -> agents -> report
Mark the first report
Tag findings, assumptions, and evidence gaps before editing anything.
Choose one change
Change a price, message, timing, actor group, evidence claim, or policy condition.
Rerun with context intact
Keep source boundaries so the comparison remains meaningful.
Compare differences
Look for which findings stayed stable and which branch moved.
Build a quick scenario worksheet
Draft the first MiroFish run on this page before opening a workspace.
Interactive worksheet
Follow-up analysis practical checklist
These checkpoints keep the page tightly matched to the exact search phrase while staying useful for a real MiroFish run.
Reader fit
Follow-up analysis guide checkpoint: Reader intent: a follow-up analysis visitor should get the short answer, the right MiroFish workflow step, and a concrete way to continue without hunting through the site.
Follow-up analysis guide checkpoint: Source packet: use The first report, original seed material, the assumption to change, the evidence gap to test, and a short note describing what the second run should answer. Keep the first packet compact so the result can be traced back to evidence instead of broad prompting.
Follow-up analysis guide checkpoint: Workflow fit: connect the search phrase to seed material, graph review, role setup, simulation events, and a report that can be challenged by a human reader.
Follow-up analysis guide checkpoint: Report standard: the best result is A comparison between scenario runs: stable findings, changed branches, new risks, stronger evidence needs, and a recommended next action. That output should preserve assumptions, disagreement, and next actions rather than sounding certain.
Follow-up analysis guide checkpoint: Verification habit: mark which claims came from source context, which came from agent reaction, and which still need a fresh outside check before action.
Follow-up analysis guide checkpoint: Rerun trigger: choose one changed condition from the report and compare it with the baseline instead of changing the prompt, roles, and evidence all at once.
Follow-up analysis guide checkpoint: Decision use: treat the page as a planning aid, then move into MiroFish only after the question, actors, time horizon, and limit are clear.
Follow-up analysis guide checkpoint: Boundary: Changing many variables at once makes comparison muddy. Follow-up analysis works best when the second run changes one important condition. A useful reader leaves with a sharper question, not a guarantee.
Prepare a useful first run
A follow-up run is an experiment. Keep the baseline report intact, write down the one condition you are changing, and predict what should move before running again. That discipline makes the comparison readable because the second result has a clear reason to differ from the first.
The best variables are concrete: price, launch date, proof strength, policy wording, audience segment, competitor response, public evidence, or time horizon. Avoid changing prompt style, source packet, persona mix, and decision goal all at once. When too many pieces move, the report may look better but teach less.
After the rerun, compare stable findings against changed findings. Stable findings deserve outside validation. Changed findings reveal sensitivity. New gaps become the next research task. This turns the workflow into a learning loop instead of a pile of unrelated reports.
Keep a short change log beside the reports. Record the original question, the changed assumption, the reason for changing it, and the result that moved most. That small habit makes the follow-up page useful for teams because anyone can see whether the second run clarified a decision or merely produced different wording.
A good comparison table has four columns: baseline finding, changed input, new finding, and practical action. If the practical action is blank, the rerun may be interesting but not yet useful. Force the output to name what should be measured, who should review it, and when another run would be justified.
Review checklist
Before acting on a MiroFish output, check whether the scenario stayed inside the question you asked. The most useful output for this page is: A comparison between scenario runs: stable findings, changed branches, new risks, stronger evidence needs, and a recommended next action. The key limit is equally important: Changing many variables at once makes comparison muddy. Follow-up analysis works best when the second run changes one important condition.
Mark the first report. Tag findings, assumptions, and evidence gaps before editing anything.
Choose one change. Change a price, message, timing, actor group, evidence claim, or policy condition.
Rerun with context intact. Keep source boundaries so the comparison remains meaningful.
Compare differences. Look for which findings stayed stable and which branch moved.
What to compare in the output
Use these checkpoints to turn the first MiroFish result into a grounded next action.
Review before action
First report: Baseline findings and risks. Creates comparison point. Do not overwrite.
Changed assumption: One variable to test. Shows sensitivity. Avoid changing too much.
Rerun report: New branch behavior. Reveals stable vs unstable findings. Check source context.
Decision note: What to verify next. Turns analysis into action. Use external evidence.
Watch the full MiroFish workflow
This 2 minute 30 second animated walkthrough moves from source material through graph construction, agent activity, simulation events, report review, and follow-up questions.
2:30 animated walkthrough
Follow the full animated workflow, then use the page-specific checklist to prepare your own MiroFish run.
Product screenshots from the workflow
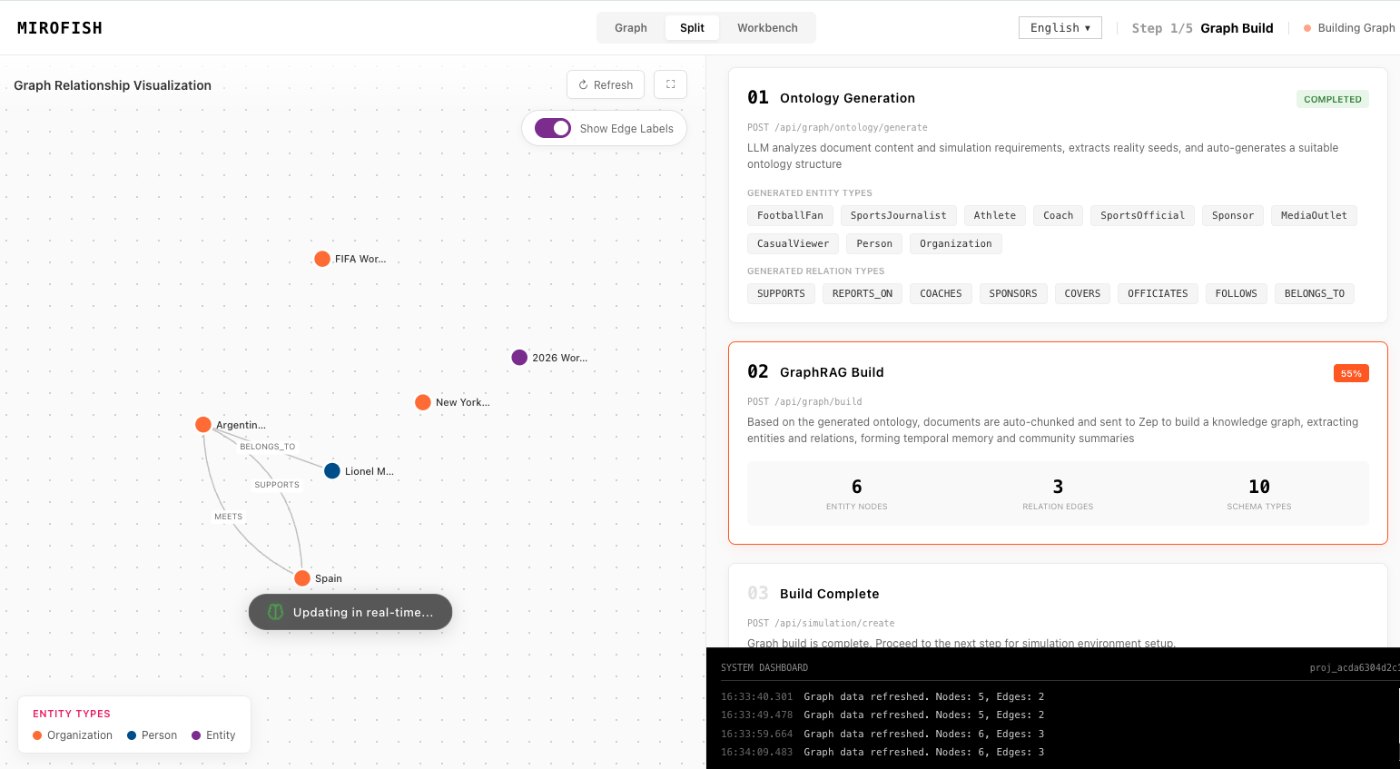
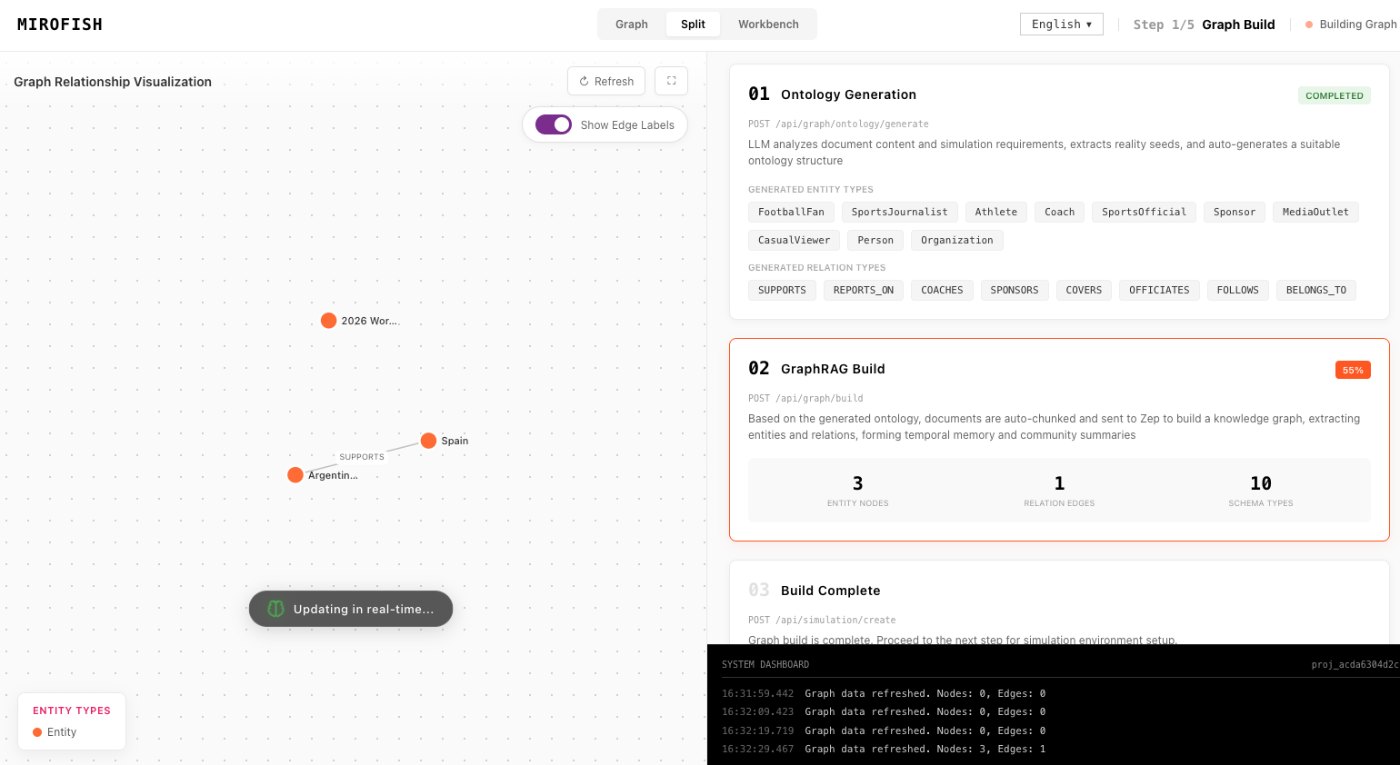
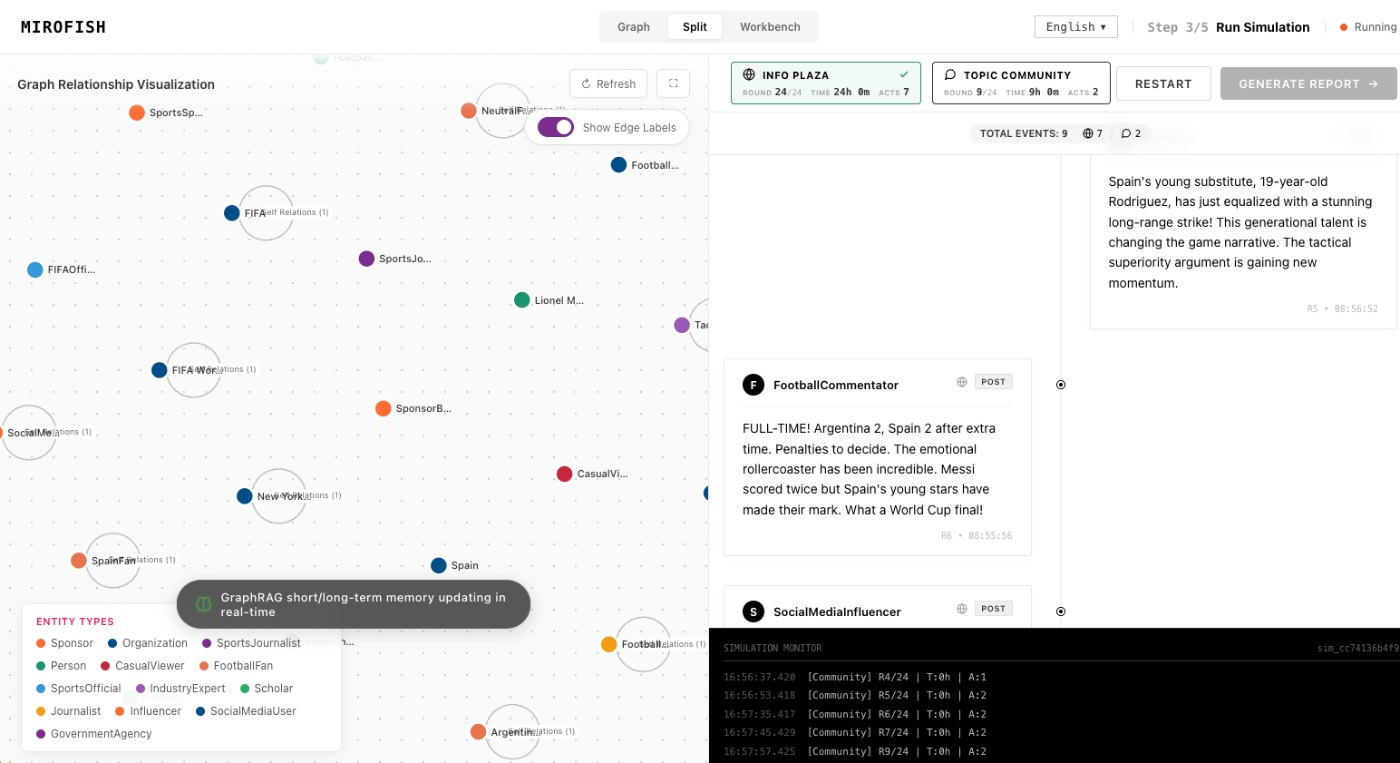
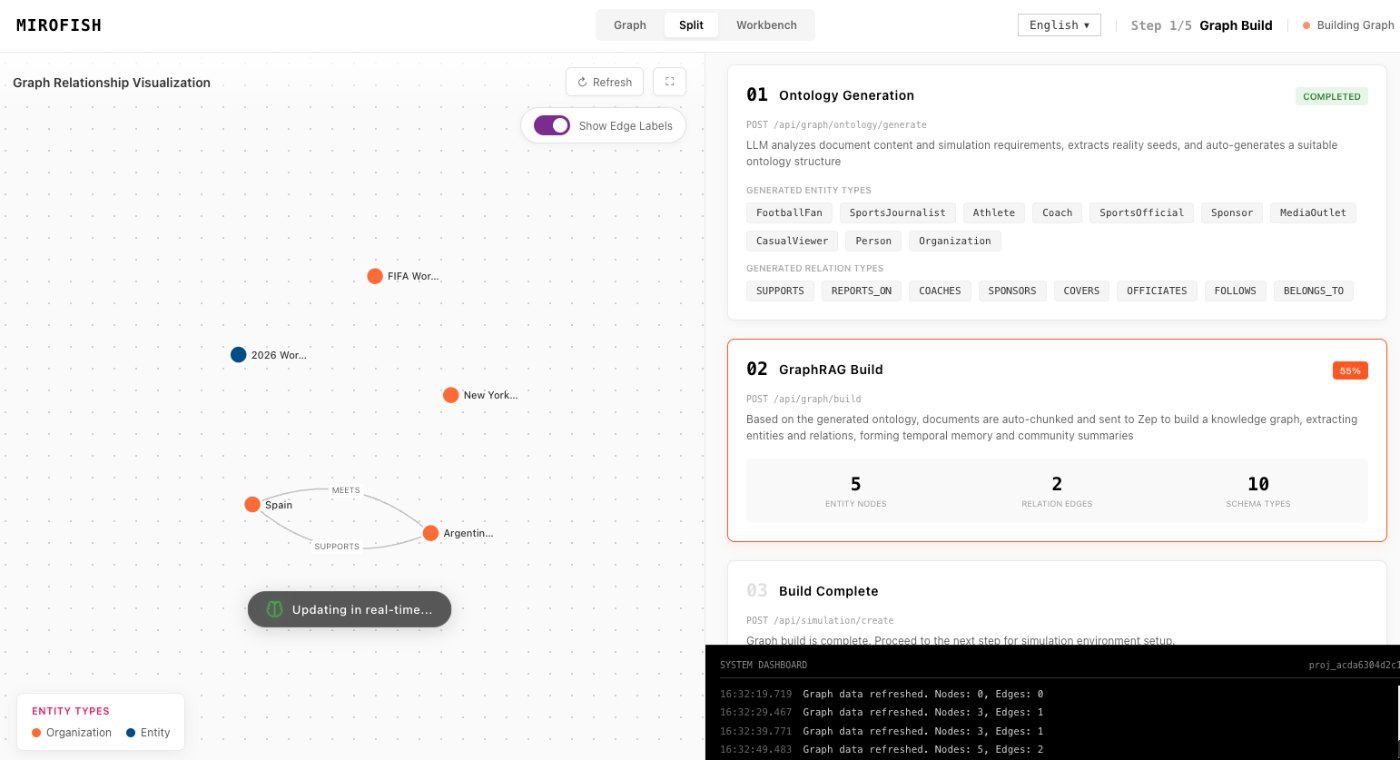
These images come from the notepad MiroFish image set and are used as concrete workflow references rather than decoration.
3 more images
MiroFish graph construction workspace used as a concrete workflow reference.MiroFish final report interface used as a concrete workflow reference.MiroFish relationship graph review used as a concrete workflow reference.
A realistic use case
A team runs a product launch scenario and sees trust concerns. In follow-up analysis, it adds proof material and reruns. If the trust branch improves but pricing objections remain, the next action becomes clearer.
The value of the page is practical: define the job, prepare the right input, read the output with its limits visible, and choose a next step that can be checked outside the page.
How to read the report
Read a MiroFish report as a map of assumptions and reactions. Mark source-backed claims, uncertain claims, and follow-up questions separately. Then choose one change for the next run instead of accepting the first report as final.